
요구사항
클라이언트 요청이 들어오면 텍스트로 이미지를 생성(txt2img)한 후 이미지를 응답 값으로 주는 기능을 구현해야 한다.
프로젝트에선 자바 서버가 모든 요청을 처리하기 때문에
클라이언트 -> 자바 서버 -> 모델 배포 서버 순으로 요청이 전달되어 다시 거꾸로
모델 배포 서버 -> 자바 서버 -> 클라이언트 순으로 이미지를 전달해야 한다.
또 프로젝트에선 이미 S3를 사용하여 이미지 처리를 하고 있었기 때문에,
모델 배포를 하는 서버에서 이미지를 생성하고 바로 S3에 이미지를 업로드 하는 방식을 택했다.
(자바 서버 <-> 모델 배포 서버 간의 불필요한 이미지 파일 송수신이 없어지지 않을까라는 생각)
자바 서버와 클라이언트는 S3 주소만 받게 되는 것!
모델 배포
처음부터 오픈 소스인 Stable diffusion이 사용 가능한 것을 보고 API 대신 직접 모델 배포를 정했기 때문에 배포 모델은 Stable diffusion이다.
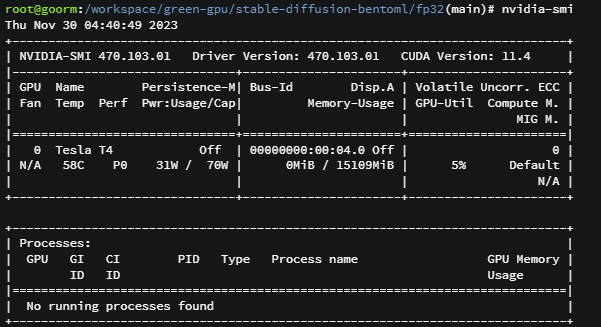
배포 서버는 지원 받은 GroomIDE의 GPU 서버를 사용하였는데, GPU 서버를 사용한 배포는 처음이라 GPU 사용이 바로 가능하게끔 환경 설정이 되어 있는게 큰 장점이었다.
Stable diffusion (with bentoml)
배포 레퍼런스를 찾아보다 bentoml이라는 모델 서빙 프레임워크의 공식 문서에서 튜토리얼로 아주 쉽게 stable diffusion을 배포하는 방법을 알려주는 것을 찾게 되었다.
GitHub - bentoml/stable-diffusion-server: Deploy Your Own Stable Diffusion Service
Deploy Your Own Stable Diffusion Service. Contribute to bentoml/stable-diffusion-server development by creating an account on GitHub.
github.com
위 링크의 방법을 따라해보면,
1. 저장소 복제 및 의존성 설치
git clone https://github.com/bentoml/stable-diffusion-bentoml.git
cd stable-diffusion-bentoml
pip install -r requirements.txt
2. Single Precision 모델 다운로드
cd fp32/
curl https://s3.us-west-2.amazonaws.com/bentoml.com/stable_diffusion_bentoml/sd_model_v1_4.tgz | tar zxf - -C models/
bentoml이 오픈소스로 제공하는 Stable diffusion 모델은 인퍼런스 타입에 따라 2가지로 나뉘는데, 10GB 이상의 VRAM이 있는 CPU 또는 GPU에 적합한 Single Precision (FP32)을 다운 받아야 한다. 사용하는 GPU가 10GB를 간신히 넘기길래 FP32로 진행
3. Bentoml Service
BENTO_CONFIG=configuration.yaml bentoml serve service:svc --production
이제 위 명령어로 bentoml을 이용해서 배포하면 끝이다. 여기까지만 진행해도 service.py에 미리 작성되어 있는 API로 이미지 생성 기능을 배포할 수 있다.
코드를 조금만 살펴보면, 모델 인퍼런스를 쉽게 API로 제공할 수 있도록 어노테이션을 제공하고 있는 걸 볼 수 있다.
@bentoml.Runnable.method(batchable=False, batch_dim=0)
    def txt2img(self, data):
        prompt = data["prompt"]
        guidance_scale = data.get('guidance_scale', 7.5)
        height = data.get('height', 512)
        width = data.get('width', 512)
        num_inference_steps = data.get('num_inference_steps', 50)
        generator = torch.Generator(self.device)
        generator.manual_seed(data.get('seed'))

        if not data['safety_check']:
            self.txt2img_pipe.safety_checker = lambda images, **kwargs: (images, False)

        with ExitStack() as stack:
            if self.device != "cpu":
                _ = stack.enter_context(autocast(self.device))

            images = self.txt2img_pipe(
                prompt=prompt,
                guidance_scale=guidance_scale,
                height=height,
                width=width,
                num_inference_steps=num_inference_steps,
                generator=generator
            ).images
            image = images[0]
            return image

@svc.api(input=JSON(pydantic_model=Txt2ImgInput), output=Image())
def txt2img(data, context):
    data = data.dict()
    data['seed'] = generate_seed_if_needed(data['seed'])
    image = stable_diffusion_runner.txt2img.run(data)
    for i in data:
        context.response.headers.append(i, str(data[i]))
    return image
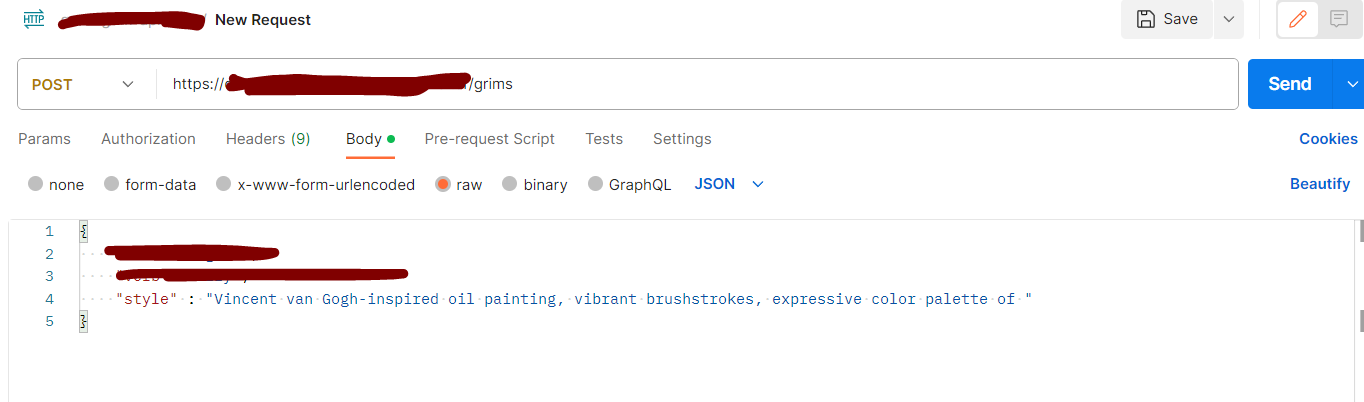
Customize
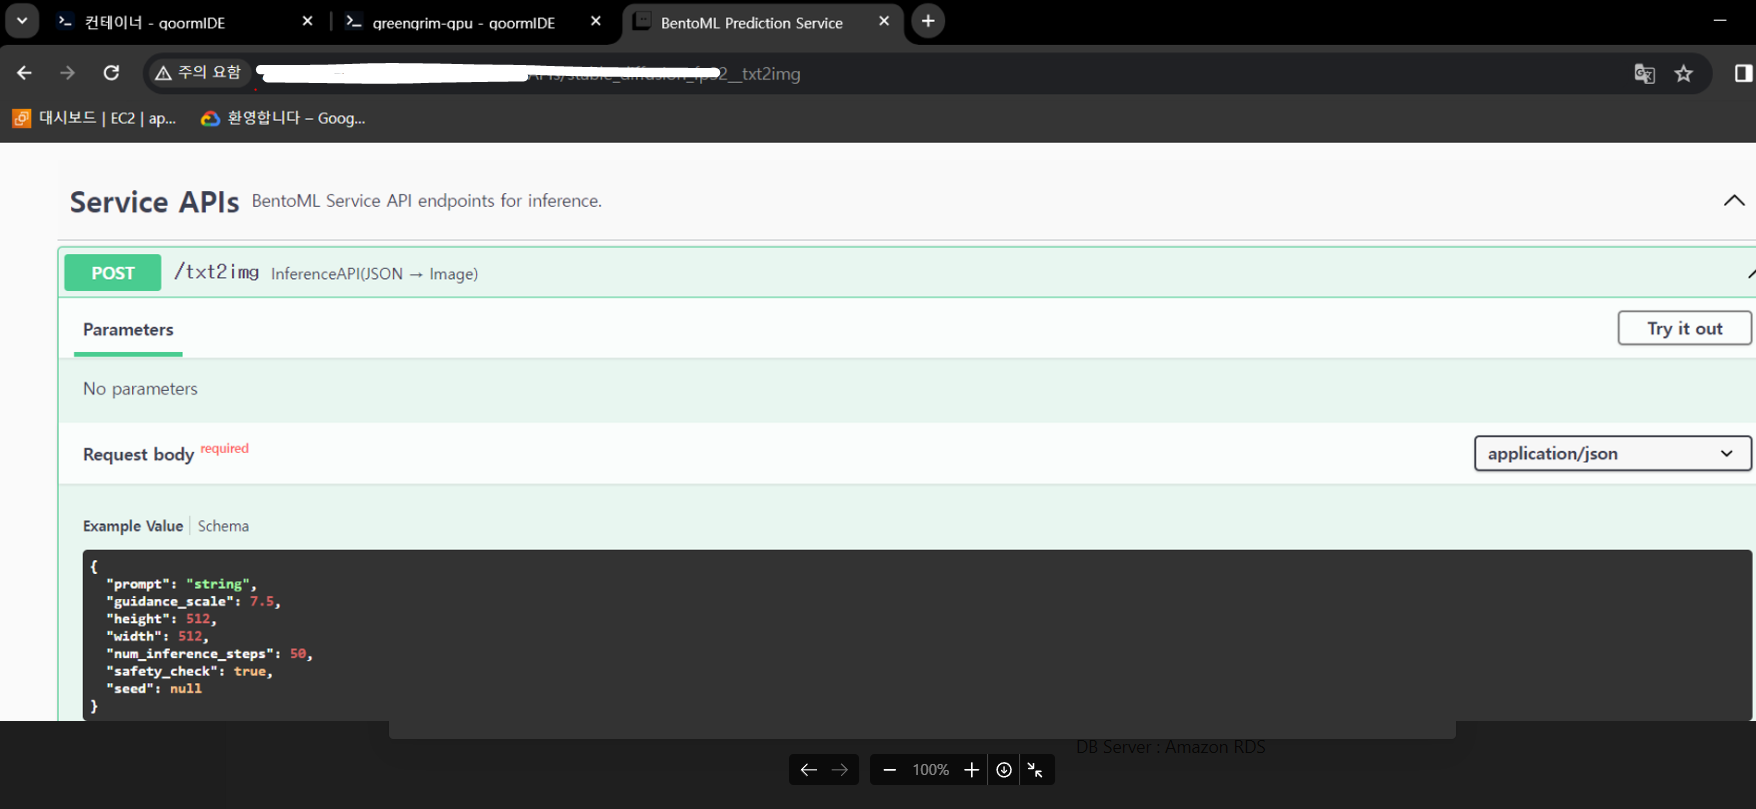
배포에 성공한 후 포트포워딩으로 서버에 접속해보면 공식 문서도 볼 수 있다.
(bentoml 기본 포트는 3000번, 스웨거 기본 제공)
하지만 기본 설정으로 txt2img 함수가 PIL image를 그대로 리턴하기 때문에, 처음 정했던 방식인 S3 업로드를 위해서 service.py를 조금 수정해야 했다.
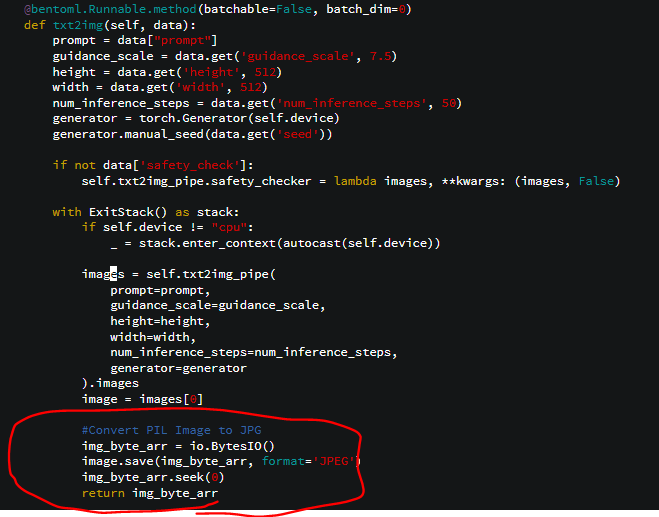
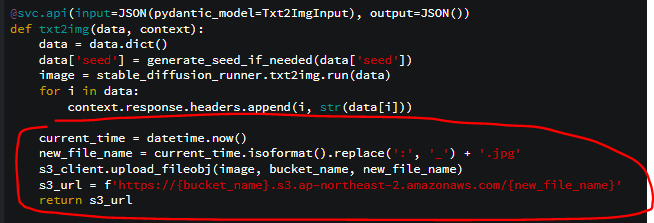
먼저 모델에서 만든 이미지를 jpg byte 데이터로 만들고,
s3에 업로드하고 이미지 주소를 리턴하도록 바꿔주었다.
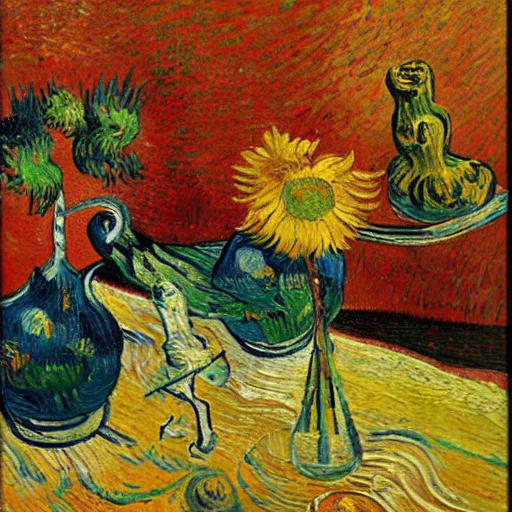
result
미리 작성해둔 자바 서버 API를 실행하면
s3에 사진이 업로드 되는 동시에 자바 서버가 해당 이미지 주소를 클라이언트에게 반환한다.
(모델 배포 서버에서 응답이 오면 클라이언트에 알람을 보내는 비동기 함수를 작성해야함.
bentoml은 모델 인퍼런스시 동시 처리를 위한 비동기 처리를 자동으로 지원해준다.)
첫 사진
'develop' 카테고리의 다른 글
| docker for window 설치 에러 해결 (0) | 2023.01.18 |
|---|---|
| RDS 비용 모음 (청구 요금) (0) | 2022.11.25 |
| 전자서명과 디지털 서명 (0) | 2022.11.20 |
| TF-IDF, 코사인 유사도 (0) | 2022.05.10 |